Eero 3 Pack Setup
An eero 3 pack system consists of 3 mesh units that can replace your existing router and beat the internet dead zones in the house. It covers up to 4500 sq. ft. of area and works with Alexa too. Moreover, it supports working with major internet service providers and you can set it up in minutes. All thanks to the eero app! Just in case, you are wondering how to complete eero 3 pack setup, you can refer to the information given on this page.
How to Set Up Eero 3 Pack Mesh System?
You will need the eero iOS or Android app. However, the app will only work on iOS version 15.0 and more. As far as Android devices are concerned, the minimum supported version must be 9.0. Your mobile device must have an active data connection before eero 3 pack setup. Apart from this, you will need a cable or DSL modem. Once you are sure of these things, you can take a walk through the below given steps for the installation process.
1. Create an eero Account and Log In
Launch the eero app by tapping its icon. After that, you will be prompted to create an eero account. This can be simply done with the help of a mobile number and email address. Very soon, a verification code will be received on the phone number. Entering that code on the eero app will complete the login process.
Note: Just in case, you do not want to create an eero account, you can complete the login process your Amazon account details. Remember? Eero 6 pack mesh system works with Alexa too.
2. Install the eero Gateway – The First Eero
The first eero unit that you will install from the eero 3 pack system will be the gateway. You will be able to do that with the help of the instructions that will appear on the eero app.
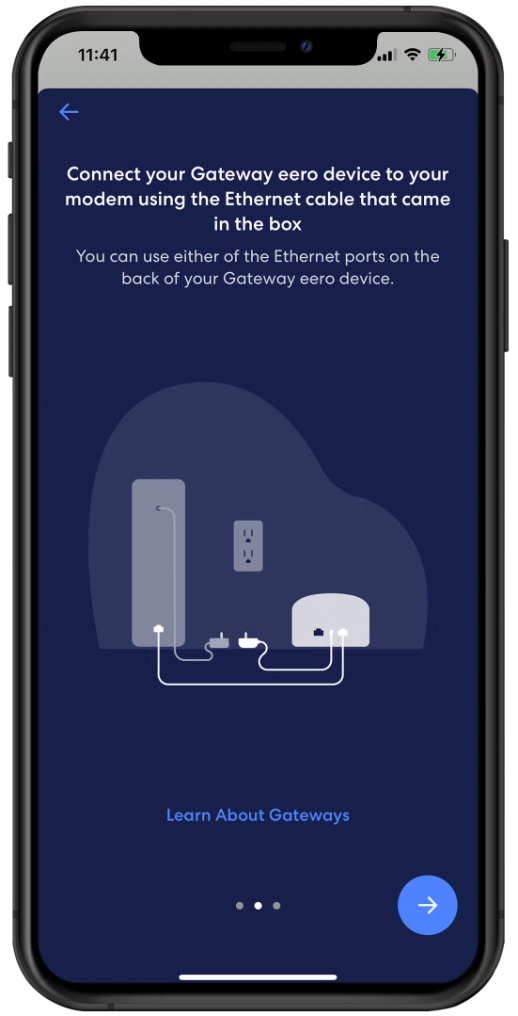
You first need to unplug the old modem from its respective power outlet. After that, using an Ethernet cable, connect the first eero unit (gateway) from the 3 pack system to the modem’s LAN port 1. Now, plug your eero gateway into a wall outlet and switch on your modem. Notice the Status light on your eero. It should be flashing white.
3. Make eero Network – Connecting More eeros
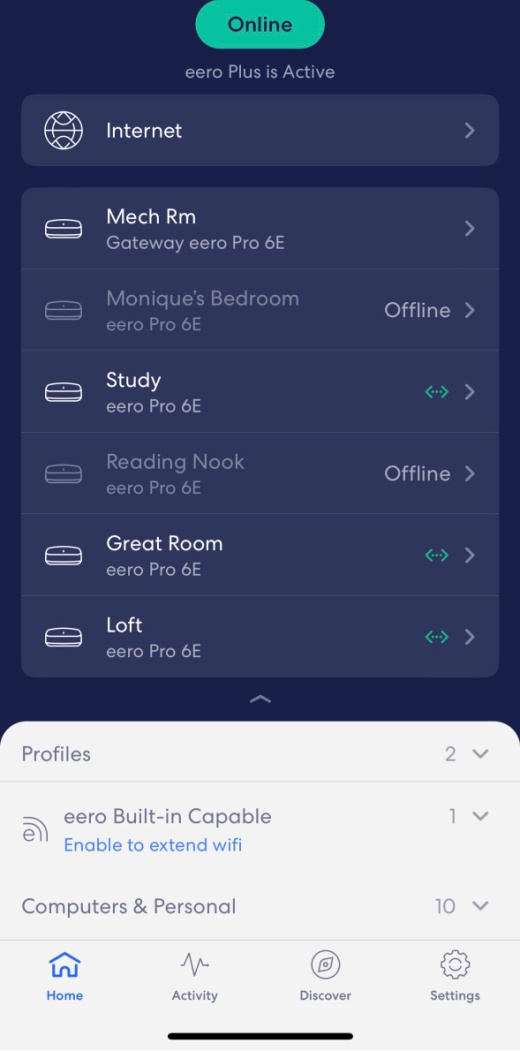
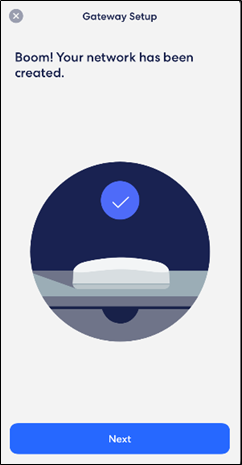
As soon as your modem and eero gateway connect, you are supposed to create the eero network for eero mesh WiFi setup. The eero app will again come into the picture. Return to the app and tap Next. The app will start looking for new eero unit i.e. the second unit in the 3 pack mesh system. Observe the LED of your gateway. It must turn solid after flashing for a few moments. The next prompt appearing on the screen will require you to select a location for the second eero unit.
You might be asked to input the serial number of your eero unit. Check the bottom of your eero. The label given there has the serial number of your eero. After selecting the location of your eero, enter the network details (SSID as well as the password). This SSID will be the network name for your eero.
4. Add More eeros – The Third eero Unit
After setting up the gateway eero and creating the eero network, you should add the third eero unit to extend the network completely. Also, any eero device can be added to your network. You are free to use an Ethernet backhaul connection or go with the wireless mode. The eero 3 pack setup is complete.
Our guide explaining how to set up eero 3-pack mesh WiFi system ends here. Hopefully, this guide will help you with the eero 3 pack setup process. However, you need to take care of a few things while placing your eeros during the finalization of setup. Ensure that you place the eero unit lies between the dead zone and the area where existing eero’s signals are perfect. Also, keep your eero away from large electronics.